There's nothing quite like the crispy, golden goodness of fried chicken. To achieve restaurant-quality results in the comfort of your own kitchen, mastering the art of using a chicken fryer is essential. In this comprehensive guide, we'll walk you through the step-by-step process of using a chicken fryer to create delicious fried chicken that will impress your friends and family.
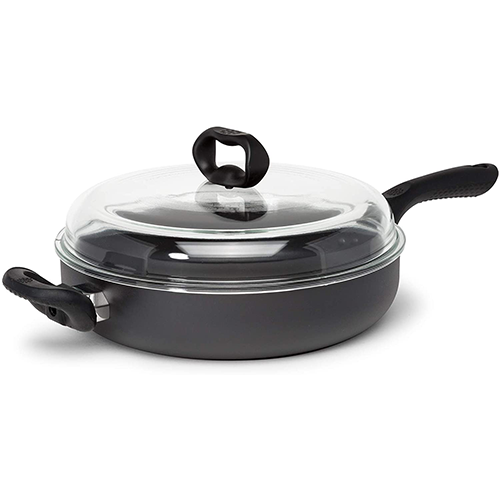
Evolve 11” Chicken Fryer with High Dome Glass Lid

$43.99
This 3¾ qt. capacity chicken fryer with helper handle accommodates an 8 lb. chicken with ease. The high dome glass lid make it easy to fit a variety of food favorites in this pan. The water-based, safe non-stick Hydrolon® coating… read more
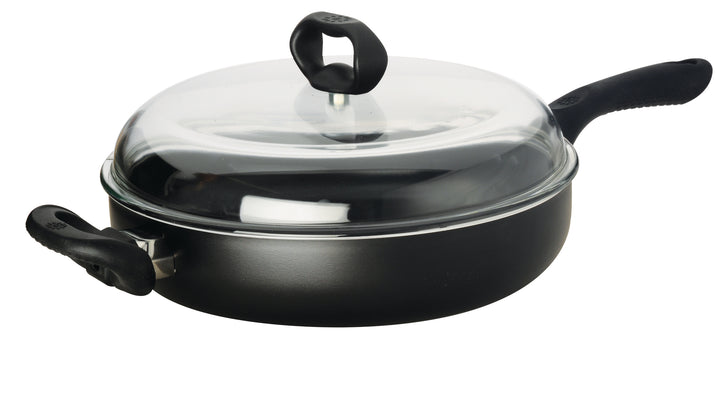
Artistry Non Stick Chicken Fryer With High Dome Glass Lid - Ecolution

$44.99
Our Artistry® Chicken Fryer with High Dome Lid is durable, functional, safe for the environment, and built for years of faithful kitchen service. This heavy gauge aluminum deep sauté pan offers great heat conductivity and features our ecologically advanced, water… read more
Choose the Right Chicken Fryer:
Before embarking on your fried chicken journey, it's important to select the right chicken fryer. Look for a fryer that is made of durable materials such as cast iron or stainless steel, as these provide excellent heat retention and even distribution. Consider the size of the fryer and ensure it can accommodate the amount of chicken you plan to fry. A fryer with a lid is beneficial as it helps to retain heat and reduce oil splatters.
Prep and Clean the Chicken Fryer:
Begin by thoroughly cleaning the chicken fryer before its first use. Wash it with hot soapy water, rinse it well, and dry it completely. This step ensures the removal of any manufacturing residues. Once clean, season the fryer by coating the interior with a thin layer of oil and placing it in a preheated oven at 350°F (175°C) for about an hour. Allow the fryer to cool before wiping off excess oil.
Preheat and Add Oil/Fat:
Place the chicken fryer on a stove burner or heating element and preheat it over medium-low heat for a few minutes. While the fryer is preheating, select a suitable oil or fat for frying. Common options include vegetable oil, canola oil, or peanut oil. Add enough oil or fat to cover the bottom of the fryer by approximately an inch. The amount required depends on the fryer's size and the quantity of chicken you plan to cook.
Heat the Oil to the Desired Temperature:
Increase the heat to medium-high and allow the oil or fat to heat up to the desired frying temperature, typically around 350°F (175°C). Use a deep-fry or candy thermometer to monitor the temperature. Maintaining the proper temperature is crucial for achieving crispy, evenly cooked fried chicken. Adjust the heat as necessary to ensure the oil remains at a consistent temperature throughout the frying process.
Prepare the Chicken for Frying:
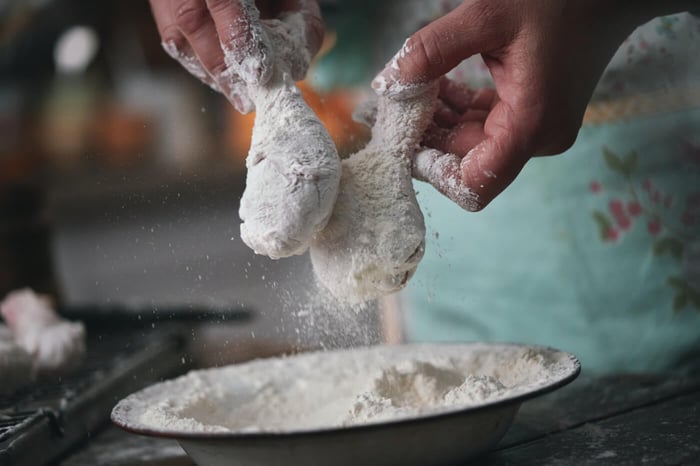
While the oil is heating, it's time to prepare the chicken. Clean and pat dry the chicken pieces with paper towels. Season the chicken with salt, pepper, and any desired herbs or spices. For an extra crispy coating, you can dredge the chicken in flour, breadcrumbs, or a seasoned coating mix. Ensure the chicken is evenly coated, gently shake off any excess coating, and set it aside until the oil is ready for frying.
Fry the Chicken to Perfection:
Using tongs or a slotted spoon, carefully place the chicken pieces into the hot oil, one by one. Avoid overcrowding the fryer, as it can cause the temperature to drop and result in greasy chicken. Fry the chicken in batches if necessary. Monitor the cooking process, turning the chicken pieces occasionally for even browning. The cooking time will vary depending on the size and type of chicken, but typically ranges from 12-15 minutes for bone-in chicken and 8-10 minutes for boneless chicken.
Drain, Rest, and Serve:
Once the chicken is cooked to a golden brown, use tongs or a slotted spoon to remove the chicken from the fryer. Place the chicken on a wire rack or paper towels to drain any excess oil. Allow the chicken to rest for a few minutes before serving.
Remember to follow safety precautions when using a chicken fryer. Be mindful of hot oil and never leave it unattended. Use heat-resistant gloves or mitts to protect your hands, and keep children and pets away from the cooking area.

